


A comprehensive guide to mastering the art of creating APK and its installation process in android studio.
Introduction
Android is the most popular operating system in the world. It has a wide range of chances for developers to produce unique and interesting applications. The process of packaging your Android app into an APK (Android Package) file is the last stage of building your Android application.
The final product of your project is an APK, which people will install on their Android-powered smartphones.
This guide will take you step-by-step through the creation and installation of APK in Android Studio, giving you a clear understanding of how to grasp this crucial part of developing Android apps, regardless if you are an experienced developer wanting to improve your skills or a newbie eager to learn. Also in this guide, we will cover types of APKs, and how to generate APKs in Android Studio.
Prerequisite
Android Studio is installed on your computer.
An Android device connected to your computer via USB or an Android Virtual Device (AVD) running in Android Studio.
What is an APK
An APK (Android Package) file format is used in Android Studio to distribute and install Android applications on Android-powered devices. The entirety of an Android app, including the code, resources, manifest file, assets, and certificates, is contained in one package file.
When you use Android Studio to create an Android app, the IDE compiles your source code into an APK along with the required resources and assets. Users download this APK to run your application on their Android devices as the project's final product.
Here is a list of the parts that are generally present in an APK:
Code: Your Android app's compiled bytecode, written in either Java or Kotlin programming languages.
Resources: This comprises XML files, drawables, designs, strings, and other assets that support your app's user experience and functionality.
ManifestFile: An important file that lists key details about your app, like the package name, the permissions needed, the app's functions, the app icon, services, and broadcast receivers.
Assets: Extra assets that your app could need access to, including fonts, audio, or other media files.
Certificates (For Signed APK): A release APK (designed for distribution) is digitally signed using a private key when it is created. The certificate guarantees that the APK is authentic and that it has not been tampered with.
To publish apps on the Google Play Store or other app stores, this is required.
After the APK is created you can distribute it through various channels, such as email, app stores, or by hosting it on your website. Users can then download and install the APK on their Android devices, allowing them to run and use your app.
Types of APK
There are primarily two types of APK that can be generated within the Android Studio:
Debug APK: This is generated in the development and testing phase of an Android application. It is intended for debugging purposes and contains information such as debugging symbols that help you identify and correct problems during development. Debug APKs are not optimized in terms of size or performance.
Release APK: This type of APK is generated to distribute to end users or to publish to app stores such as Google Play. For size and performance, release APKs are optimized.
To protect the code from being altered, they do not contain any debugging information and may be unreadable.
To ensure their authenticity and integrity, release APK must be signed. These two types of APK serve different purposes and are generated using different build configurations in Android Studio.
Purpose of creating APK
The purpose of creating APK(Android Application Packages) in Android Studio is to build and package your Android apps for distribution and installation on Android devices.
Creating APK allows you to test your app on real devices, distribute it to users, or publish it on app stores like Google Play. It is an essential step in the app development lifecycle to make your app accessible to users.
Steps in creating a debug APK in Android Studio
Creating a debug APK file in the Android Studio is very easy
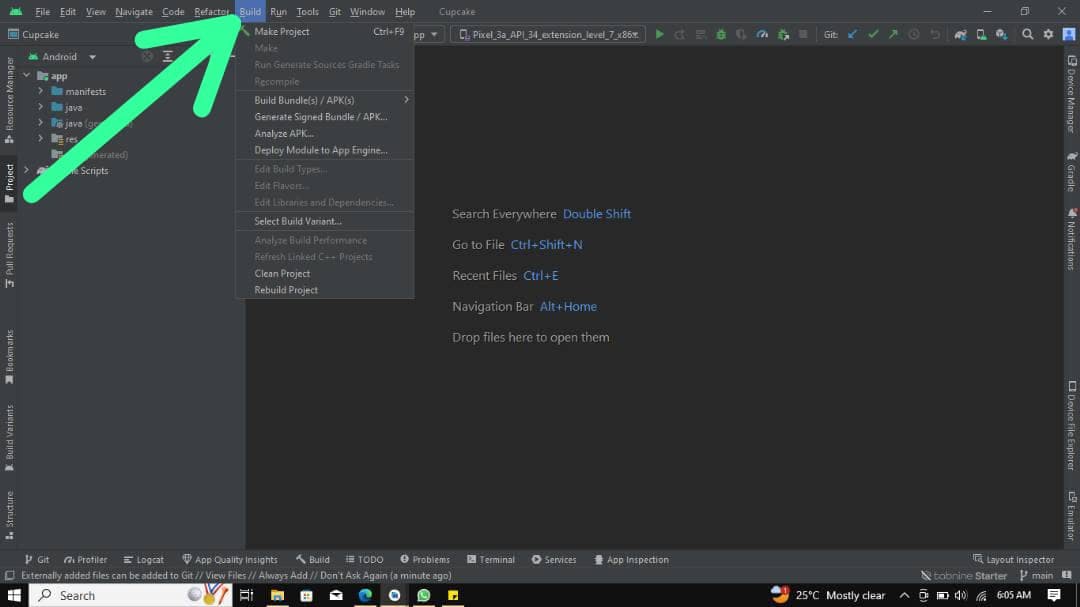
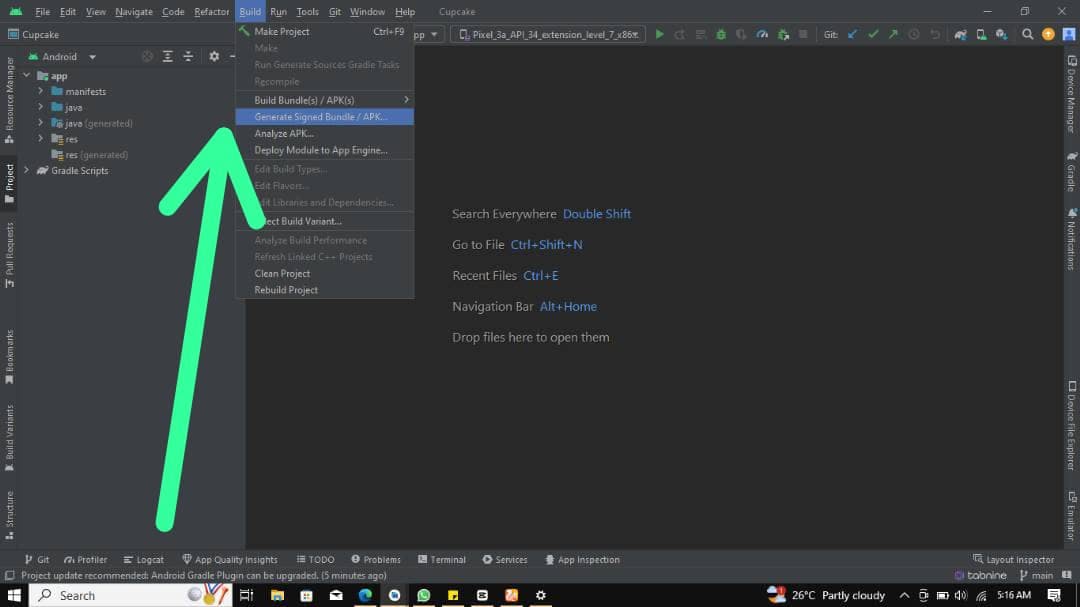
Step1: Open your project or application on Android Studio Go to the menu bar and select BUILD
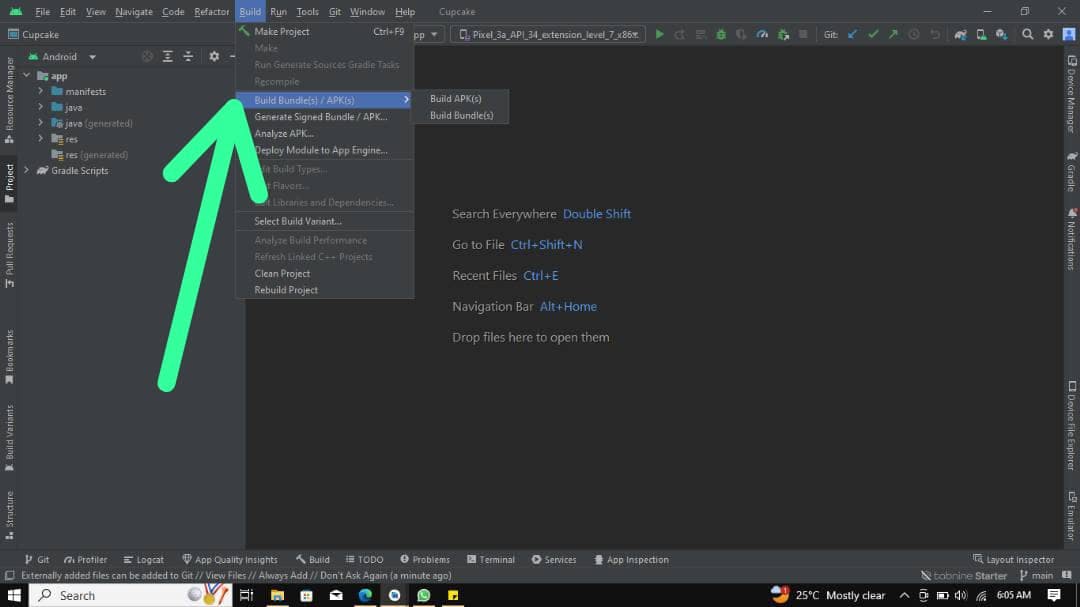
Step 2: Click on BUILD BUNDLE(s) /APK(s)
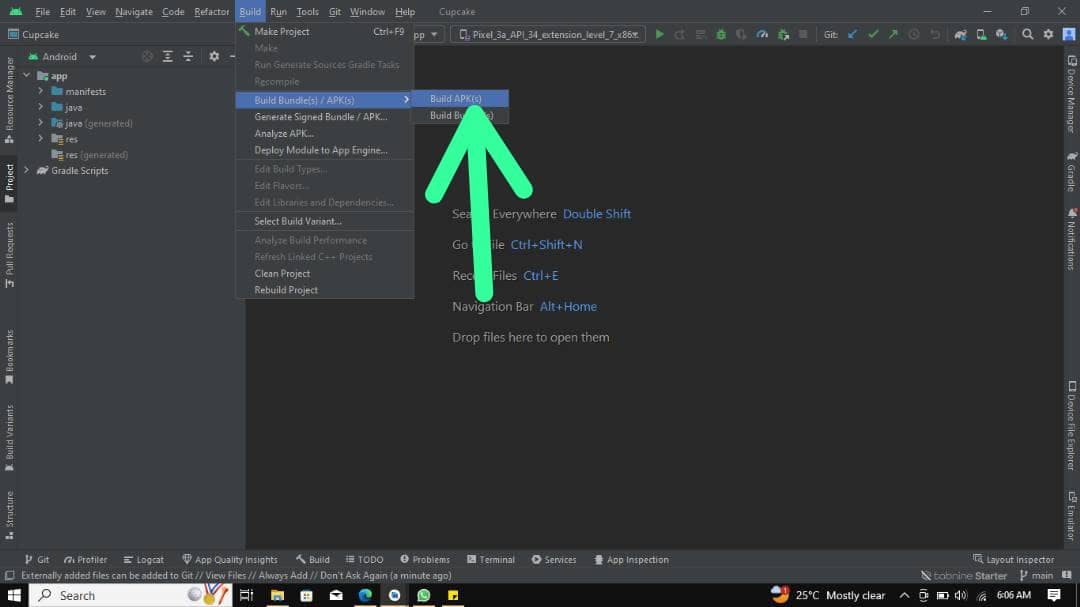
Step 3: Click on BUILD APKs
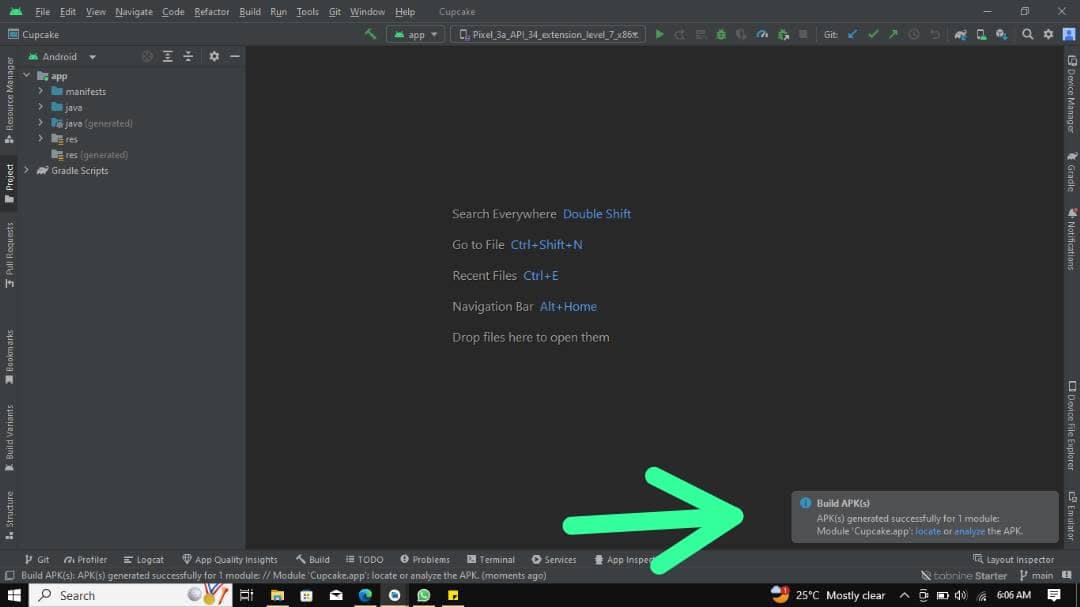
Step 4: Gradle starts building after building check the right side of your Android studio you will see a notification showing build generated successfully. click on LOCATE and you will be directed to the APK file location in your folder
Step 5: This will display on your screen after clicking LOCATE
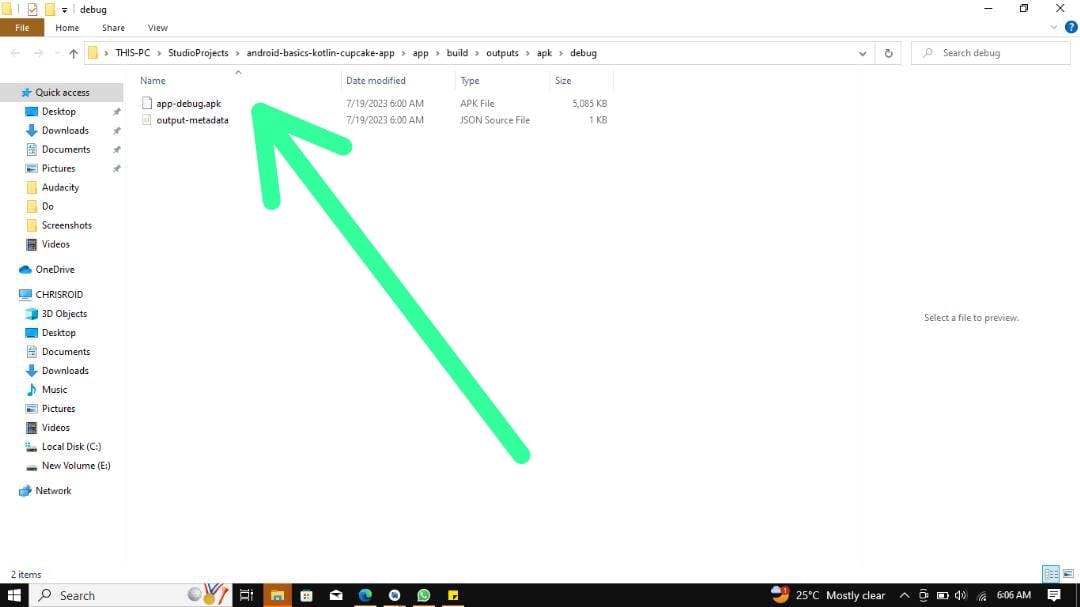
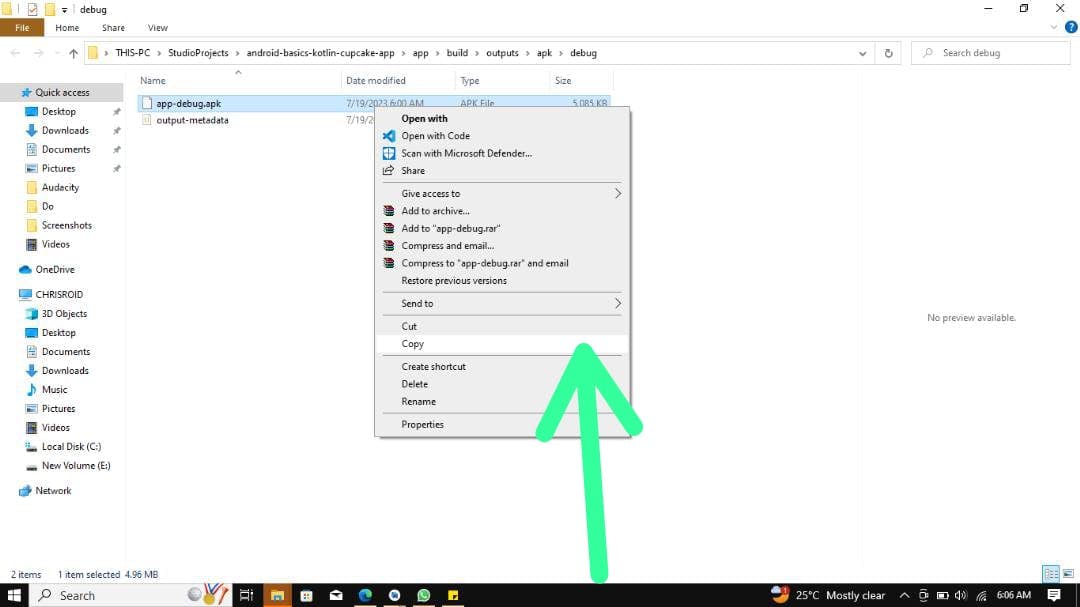
Step 6: Right-click and then click on COPY to copy the file on your device connected to your computer and install it on your mobile phone.
Note: You can still find the APK file in your project folder in the following path if you do not receive the notification: app/build/apk/outputs/apk/debug.
How to Generate a Signed/Release APK in Android Studio
Step 1: Go to BUILD> GENERATE SIGNED APK
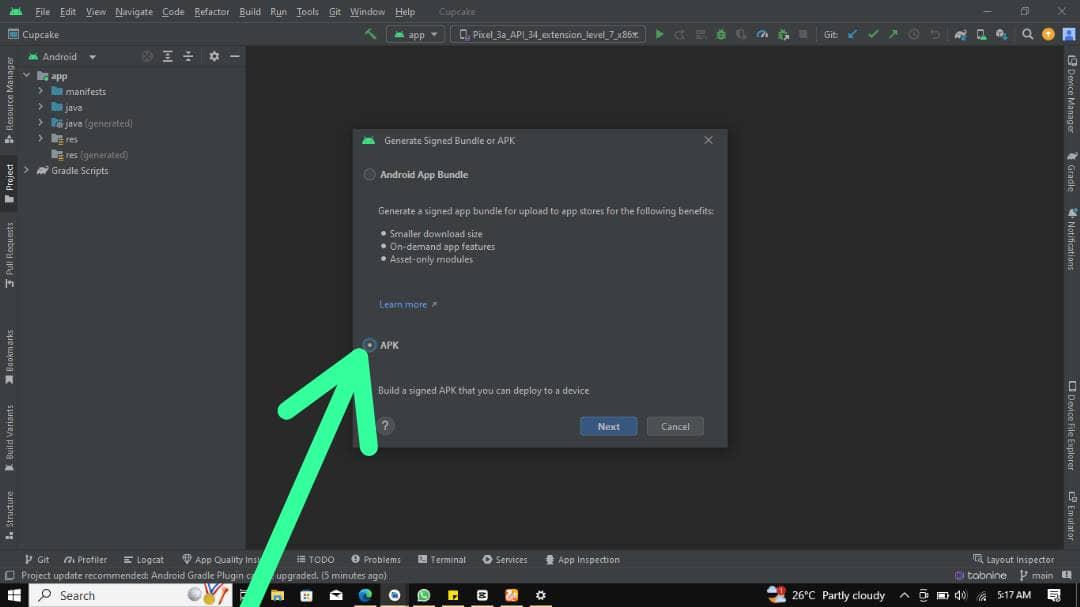
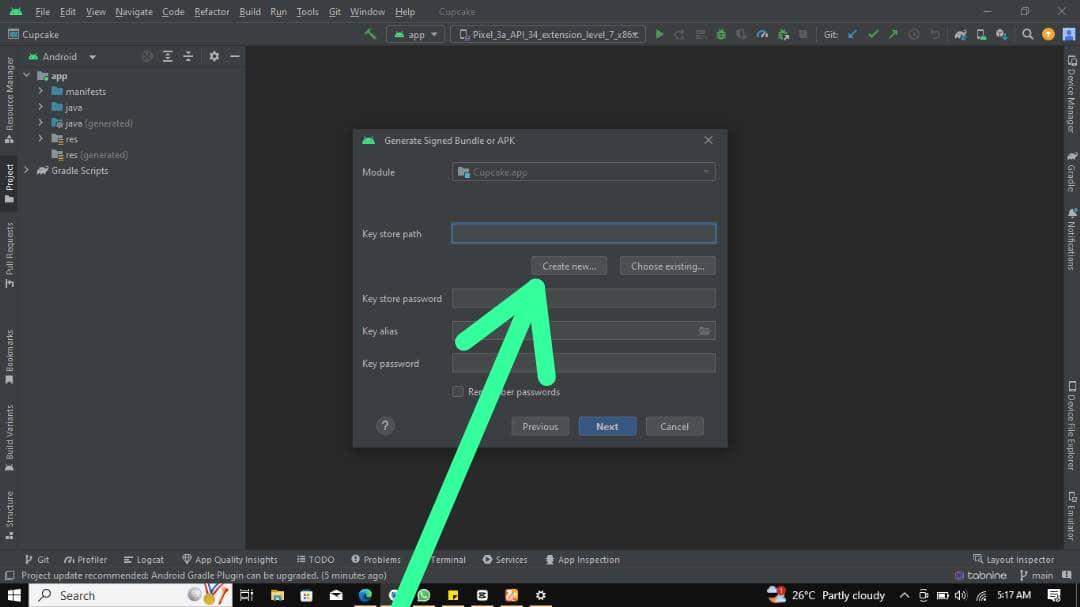
Step 2: A new dialog will pop up on the screen click on APK and click on NEXT
Step 3: Click on CREATE NEW if you don't have a key store file, if you already have one just input your details in the field.
Creating a new Keystore
keystore is a secure container that holds cryptographic keys and certificates used for code signing in the Android development process. It is an essential part of the process of generating a signed APK or Android App Bundle for distribution.
The primary purpose of a Keystore file is to securely store the private keys and digital certificates needed to sign your Android application.
You will be redirected here to create your key store path
Keystore path: A keystore path is the file system location or path where a keystore is stored.
Key alias: The alias helps distinguish one key from another within the same keystore, making it easier to reference and use specific keys when needed.
Validity: This is the time frame in which your application cannot be accessed after its key has expired. For a key, the period of validity shall be 25 years.
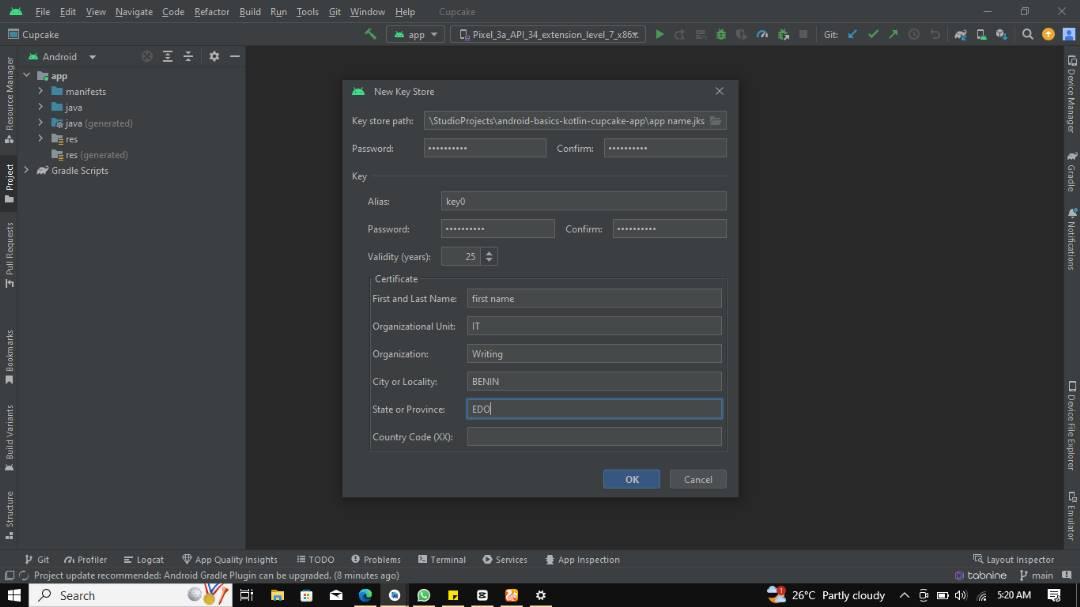
Select OK when you are done
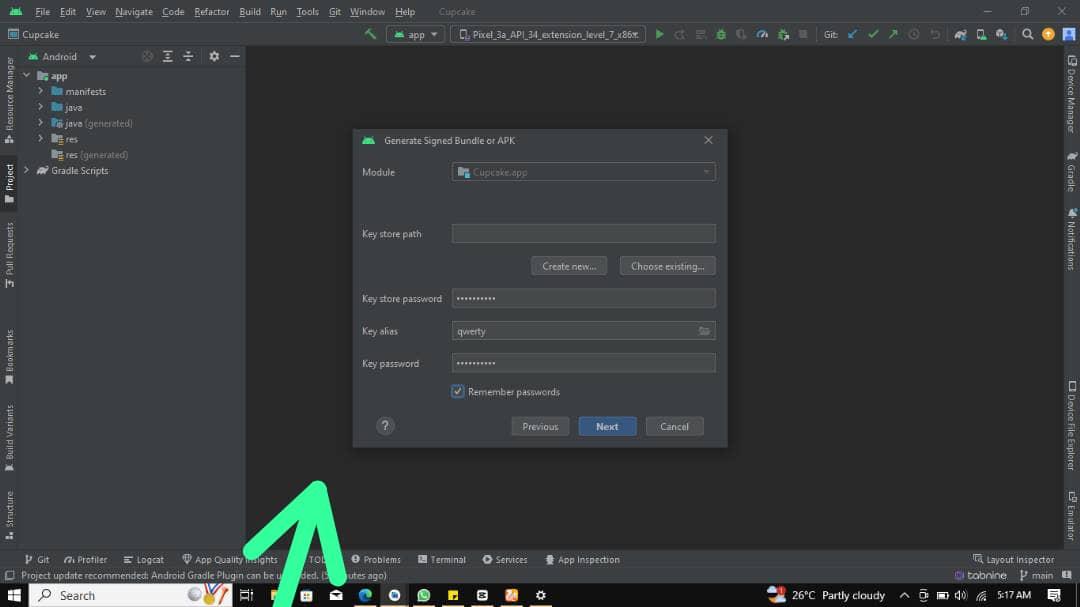
Step 4: you will be redirected back to this screen. Ensure the details you fill in are correct. Then click on NEXT
Step 5: After clicking on next a new window will launch select RELEASE since our application is ready for deployment
Click on CREATE
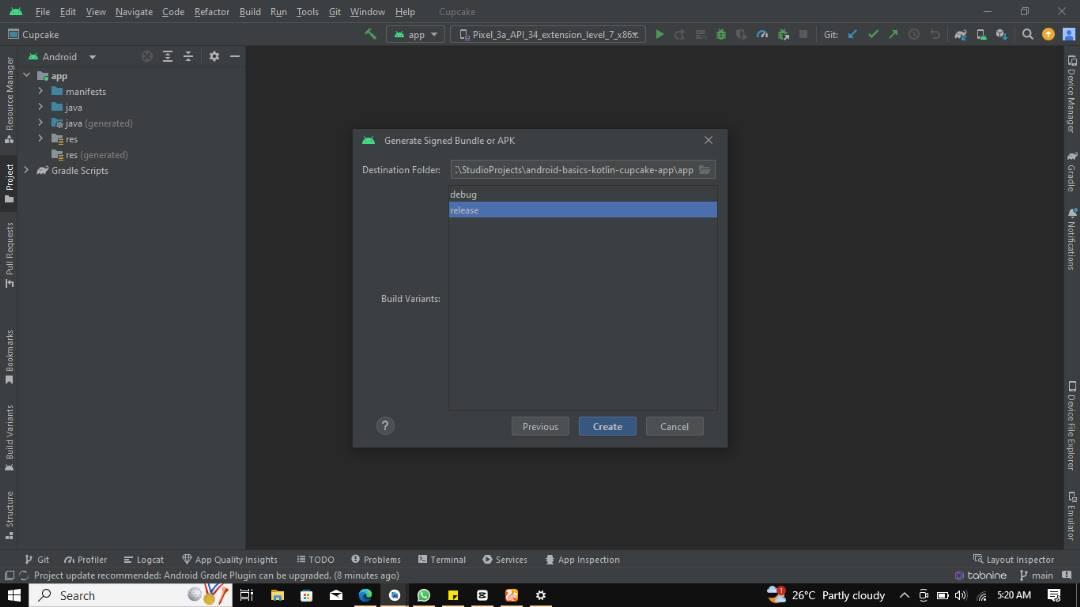
Allow Gradle to build, a notification will pop up on the screen showing you to LOCATE released APK
Conclusion
This guide has explained the difference between debug APK and release APK and when to use them. We also learned how to generate them. How to create keystore in Android Studio and what they are used for.